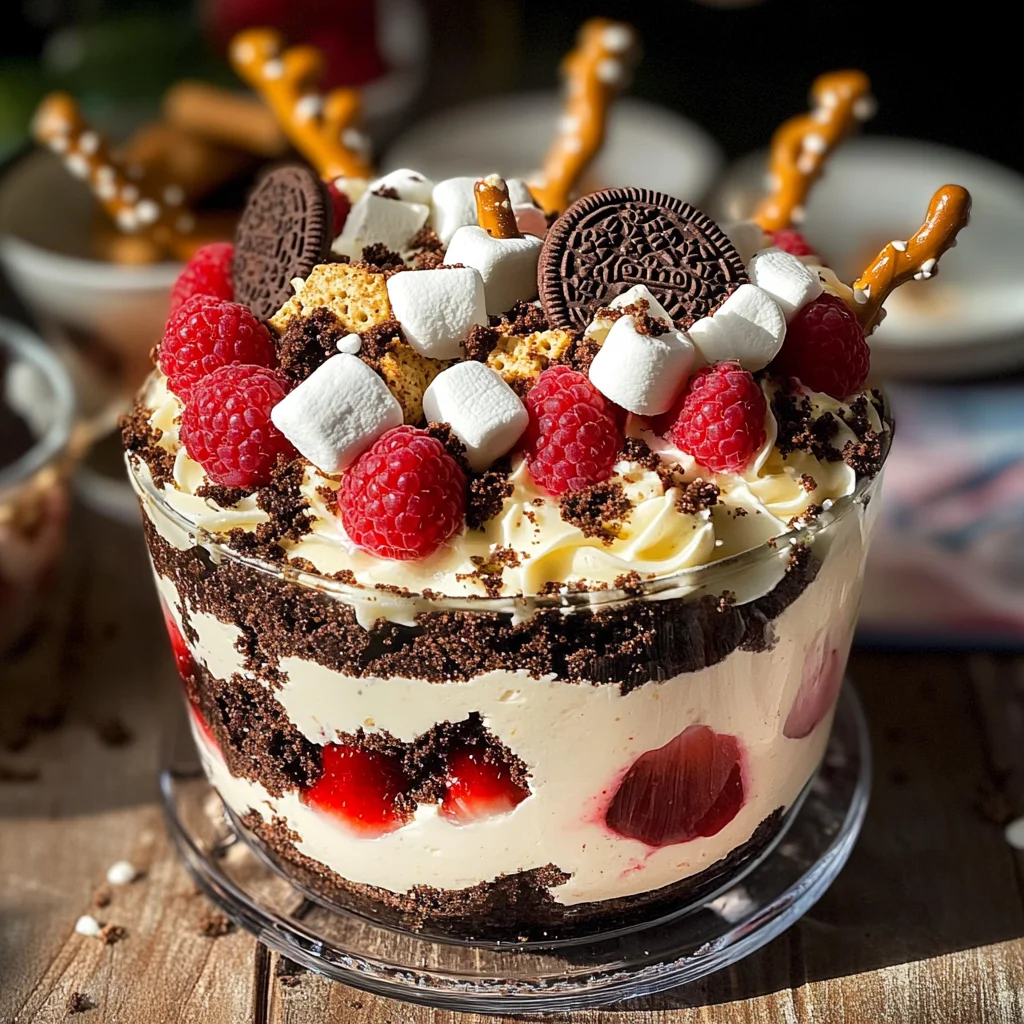
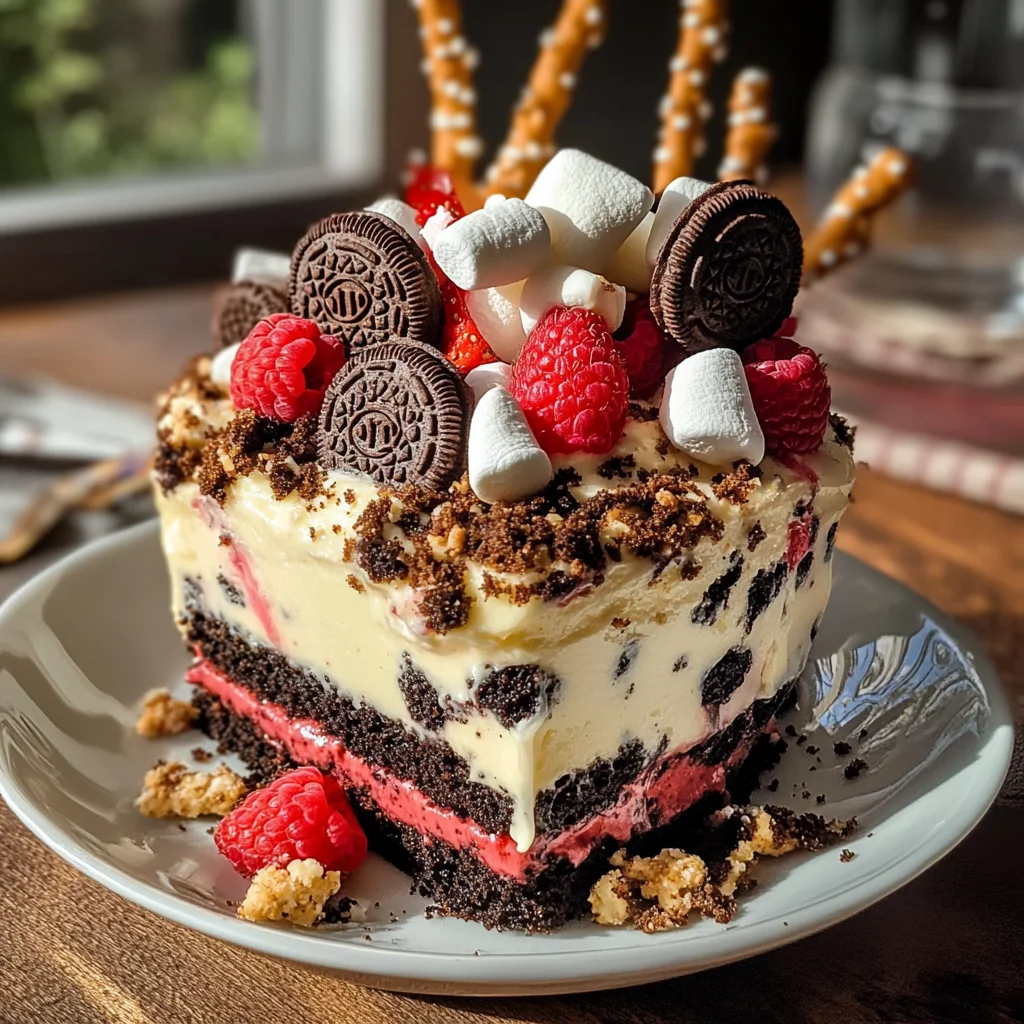
Wild Forest Classic Dirt Pudding Cake is a delightful dessert that brings joy to any gathering. This layered treat combines rich chocolate flavors with a unique, nature-themed presentation. Perfect for birthdays, picnics, or family gatherings, this cake is sure to impress both kids and adults alike. Its standout qualities lie in the fun presentation and delicious taste, making it a versatile addition to your dessert repertoire.
Why You’ll Love This Recipe
- Easy to Make: With simple steps and common ingredients, you can whip up this dessert without fuss.
- Deliciously Decadent: The combination of cream cheese, pudding, and crushed Oreos creates an irresistible flavor.
- Versatile Presentation: Serve it in various dishes or individual cups for a charming touch at any event.
- Kid-Friendly: The playful look of this cake will excite children and make them eager to dig in.
- Customizable Ingredients: Feel free to swap in your favorite fruits or toppings for a personalized twist.
Tools and Preparation
Before diving into the recipe, gather your essential tools. Having everything ready will streamline the cooking process.
Essential Tools and Equipment
- Mixing bowls
- Hand mixer or stand mixer
- Food processor or rolling pin
- Measuring cups and spoons
- Serving dish or trifle bowl
Importance of Each Tool
- Mixing bowls: Essential for combining ingredients and ensuring thorough mixing.
- Hand mixer or stand mixer: Facilitates easy whipping of cream and blending of ingredients to achieve the right texture.
- Food processor or rolling pin: Quickly crushes Oreos to the desired consistency without much effort.

Ingredients
For the Base
- 14 oz package of oreos
- 3 & 1/2 cups cold whole milk
For the Cream Layer
- 8 oz cream cheese (softened)
- 2 3.4 oz boxes french vanilla pudding (you can also use plain vanilla or chocolate)
- 1 cup heavy whipping cream (or cool whip)
- 3/4 cup powdered sugar
- 1 tsp vanilla extract (or vanilla bean)
For the Toppings
- 1 lb fresh strawberries
- 1/4-1/2 cup fresh raspberries
- Pretzel sticks
- Mini vegan marshmallows
- 4-6 oz white chocolate
- 2 tsp coconut oil (for melting)
- Crushed pistachios for moss in dirt & rocks
How to Make Wild Forest Classic Dirt Pudding Cake
Step 1: Make the Pudding & Crush Oreos
- In a large bowl, whisk together the cold milk and instant pudding mix until combined. Set aside to thicken.
- Place the Oreo package in a food processor and pulse until they turn into coarse crumbs. You can also use a ziplock bag and crush with a rolling pin.
Step 2: Make the Whipped Cream
- In another large bowl using a hand mixer or stand mixer with a whisk attachment, whip the heavy cream until soft peaks form.
- Gently fold in the vanilla extract. Set aside.
Step 3: Whip Cream Cheese & Finish Pudding
- In the stand mixer bowl, beat the softened cream cheese until smooth.
- Add powdered sugar and mix until well combined.
- Gradually add the thickened pudding mixture to the cream cheese while mixing on medium speed until fully incorporated.
- Carefully fold in the whipped cream mixture using a rubber spatula.
Step 4: Assemble Dirt
- Choose your serving dish—an 8 or 9-inch round dish, 9×13 dish, trifle dish, or smaller mugs work well.
- Start layering by adding one layer of crushed Oreos to the bottom of your dish.
- Follow with a layer of the pudding filling, then another layer of Oreos.
- Repeat until all ingredients are used up, finishing with a top layer of crushed Oreos.
Enjoy your Wild Forest Classic Dirt Pudding Cake as a delightful treat that’s as fun to make as it is to eat!
How to Serve Wild Forest Classic Dirt Pudding Cake
Wild Forest Classic Dirt Pudding Cake is a delightful dessert that can be enjoyed in various ways. Here are some fun serving suggestions to elevate your dessert experience.
Individual Servings
- Use small cups or jars to serve individual portions of the cake. This makes it easy for guests to enjoy without needing to slice.
Family Style
- Present the entire cake in a large bowl or dish and let everyone serve themselves. It’s a great way to encourage sharing and conversation.
Garnished with Fresh Fruit
- Top each serving with fresh strawberries and raspberries for added flavor and color. This not only enhances presentation but also adds a fruity taste.
With Whipped Topping
- Serve alongside a dollop of whipped cream or non-dairy alternative on top for an extra creamy texture that complements the pudding.
How to Perfect Wild Forest Classic Dirt Pudding Cake
To ensure you achieve the best results with your Wild Forest Classic Dirt Pudding Cake, here are some helpful tips.
- Chill Before Serving: Allow the cake to chill in the refrigerator for at least 2 hours. This helps the layers set properly and enhances the flavors.
- Use Fresh Ingredients: Opt for fresh strawberries and raspberries when possible. They provide a burst of flavor that elevates your dessert.
- Don’t Skip the Cream Cheese: Beating the cream cheese until smooth is crucial for a creamy filling. Make sure there are no lumps.
- Play with Textures: Incorporate crushed nuts or pretzel sticks into the layers for added crunch and contrast against the soft pudding.
Best Side Dishes for Wild Forest Classic Dirt Pudding Cake
Pairing side dishes with your Wild Forest Classic Dirt Pudding Cake can create a balanced meal. Here are some great options:
- Fresh Fruit Salad: A mix of seasonal fruits offers freshness that complements the sweetness of the cake.
- Chocolate Chip Cookies: These classic treats provide a chewy texture that contrasts nicely with the creamy pudding.
- Mini Cheesecakes: Individual cheesecakes add richness and are an elegant accompaniment to the dirt pudding.
- Vanilla Ice Cream: A scoop of vanilla ice cream brings a chilly element that pairs well with this dessert.
- Carrot Sticks with Hummus: For a healthier option, serve crunchy carrot sticks with hummus to balance out the sweetness.
- Nutty Granola Bars: Homemade or store-bought granola bars offer a chewy, nutty flavor that complements your dessert beautifully.
Common Mistakes to Avoid
When making the Wild Forest Classic Dirt Pudding Cake, there are several common pitfalls. Avoid these mistakes for the best results.
- Using Warm Milk: Always use cold milk for the pudding. Warm milk can prevent it from thickening properly.
- Not Crushing Oreos Enough: Ensure the Oreos are crushed into a fine crumb. Larger pieces won’t create the desired layers and texture.
- Overmixing Cream Cheese: When combining cream cheese with powdered sugar, mix just until smooth. Overmixing can make it too airy and affect consistency.
- Skipping Refrigeration: Letting the cake chill is crucial. Skipping this step can lead to a runny dessert that doesn’t hold its shape.
- Neglecting Layering: Layering is key to achieving that dirt look. Don’t rush this process; take your time to create beautiful layers.

Storage & Reheating Instructions
Refrigerator Storage
- Store in an airtight container for up to 3 days.
- Keep it covered to maintain freshness and prevent drying out.
Freezing Wild Forest Classic Dirt Pudding Cake
- Freeze for up to 2 months in an airtight container.
- Thaw overnight in the refrigerator before serving.
Reheating Wild Forest Classic Dirt Pudding Cake
- Oven: Preheat to 350°F and warm covered for about 10-15 minutes.
- Microwave: Heat in short bursts of 10-15 seconds until slightly warm.
- Stovetop: Place in a pan on low heat, stirring occasionally until warmed through.
Frequently Asked Questions
Here are some common questions about the Wild Forest Classic Dirt Pudding Cake.
Can I use non-dairy alternatives?
Yes, you can replace cream cheese with a non-dairy cream cheese substitute and use almond or soy milk instead of whole milk for a dairy-free version.
How long does it take to prepare?
The total time required is about 40 minutes, but remember to refrigerate it for optimal results.
What can I substitute for strawberries?
Feel free to use other berries like blueberries or blackberries as they also pair well with this dessert.
Is this dessert suitable for kids?
Absolutely! The Wild Forest Classic Dirt Pudding Cake is a fun and playful dessert that kids will love.
Can I customize the toppings?
Yes! You can add different fruits, nuts, or even themed decorations based on occasions or preferences.
Final Thoughts
The Wild Forest Classic Dirt Pudding Cake is an appealing dessert that combines rich flavors with a whimsical presentation. Its versatility allows for customization based on personal preferences or seasonal ingredients. Don’t hesitate to try this delightful treat; it’s sure to impress family and friends!
Wild Forest Classic Dirt Pudding Cake
Indulge in the whimsical charm of Wild Forest Classic Dirt Pudding Cake, a delightful layered dessert that’s perfect for any occasion. This easy-to-make treat features rich chocolate flavors harmoniously combined with creamy pudding and topped with fresh fruits, making it an instant hit among kids and adults alike. Whether you’re hosting a birthday party, organizing a picnic, or enjoying family gatherings, this dessert will surely steal the show. With its playful presentation and customizable layers, you can create a unique version to suit your preferences.
- Prep Time: 20 minutes
- Cook Time: None
- Total Time: 0 hours
- Yield: Serves approximately 12 people 1x
- Category: Dessert
- Method: No-bake
- Cuisine: American
Ingredients
- 14 oz package of Oreos
- 3 1/2 cups cold whole milk
- 8 oz cream cheese (softened)
- 2 boxes (3.4 oz each) French vanilla pudding
- 1 cup heavy whipping cream
- Fresh strawberries and raspberries for topping
Instructions
- In a large bowl, whisk together cold milk and instant pudding mix until smooth; set aside to thicken.
- Crush Oreos into coarse crumbs using a food processor or rolling pin.
- In another bowl, whip heavy cream until soft peaks form and gently fold in vanilla extract.
- Beat softened cream cheese until smooth; mix in powdered sugar and gradually add the thickened pudding mixture.
- Carefully fold in whipped cream until fully combined.
- Layer crushed Oreos at the bottom of your serving dish, followed by pudding filling, then repeat layers until all ingredients are used up.
- Finish with a top layer of crushed Oreos.
Nutrition
- Serving Size: 1 slice (120g)
- Calories: 390
- Sugar: 20g
- Sodium: 290mg
- Fat: 24g
- Saturated Fat: 12g
- Unsaturated Fat: 11g
- Trans Fat: 0g
- Carbohydrates: 40g
- Fiber: 2g
- Protein: 5g
- Cholesterol: 45mg


Leave a Comment